


While you won't have to worry about buttons falling off our products, if you run into this problem, here is our step-by-step guide on how to re-sew the buttons on.

A Quick and Easy Step-by-Step Guide to Re-Sewing Buttons on a Golf Polo
Whether you're getting ready for a day on the course or just maintaining your favorite office shirt, re-sewing a button on a golf polo is a useful skill to have. This guide will walk you through the process step-by-step, ensuring your polo looks as good as new. Let’s get started!
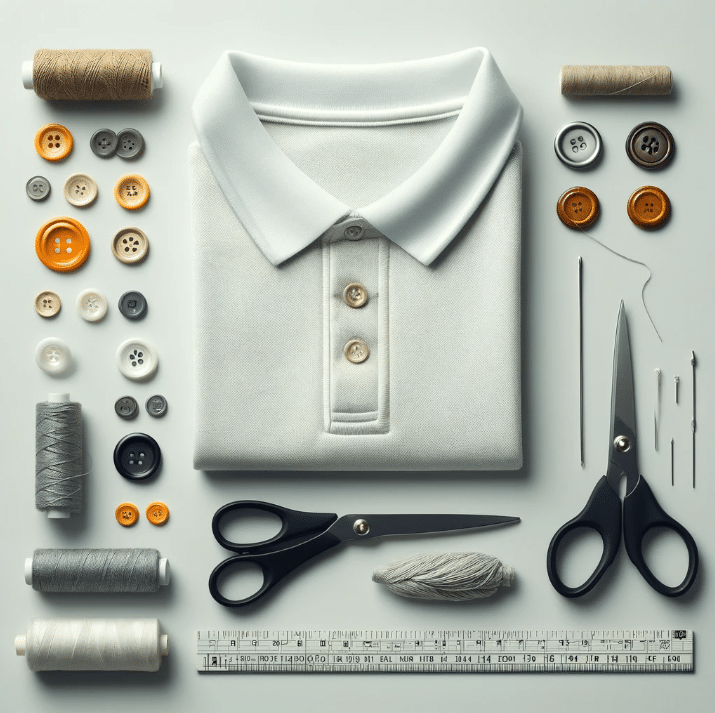
Materials You’ll Need:
- Replacement button
- Needle
- Thread matching the color of your polo or button
- Scissors
- Toothpick (optional for spacing)
- A golf polo with a missing or loose button
Step 1: Gather Your Materials
Make sure you have everything you need before you start. This helps avoid interruptions and ensures a smoother sewing process.
Step 2: Thread the Needle
Cut a piece of thread about 18 inches long. Thread it through the needle and tie a knot using both ends. This will create a double-thread on your needle. Double-threading can provide extra strength, which is particularly useful for buttons that experience a lot of strain.

Step 3: Position the Button
Place the button on the polo where it originally was or where it fits best. Make sure it aligns with the buttonhole on the other side.
Optional Tip: Placing a toothpick or pin between the button and fabric can help maintain the right spacing between the button and your polo, ensuring it's not sewn on too tightly.

Step 4: Start Sewing
Push the needle through the back (the inside) of the fabric to the front (the outside), pulling it all the way until the knot stops at the back. Insert the needle through one of the holes in the button and pull the thread through.

Step 5: Secure the Button
From the front, push the needle back down through an adjacent hole (if your button has four holes, use the two diagonally opposite holes for now). Pull the thread through, keeping the button snug but not overly tight. Repeat this process a few times to secure the button.

Step 6: Create a Cross Pattern (for Four-Hole Buttons)
For a four-hole button, repeat the sewing process with the remaining two holes. This creates a cross pattern that adds extra stability. Ensure the button is securely attached by passing the needle through each set of holes several times.

Step 7: Reinforce the Button
Once the button is attached, bring the needle back to the front. But, instead of going through the buttonhole again, loop the thread under the button. This step adds extra reinforcement. Repeat this loop two to three times.

Step 8: Finish Off
To finish, bring the needle to the back of the fabric. Tie a small knot by catching a bit of fabric with the needle, pulling the thread through until there's a small loop, and passing the needle through the loop. Pull it tight to secure the knot. Trim any excess thread.
Step 9: Check Your Work
Ensure the button is secure and aligned properly with the buttonhole. If it feels loose, you can always go back in and add a few more stitches.
